The question I receive the most on social media is, “how do you have photos of yourself if you are traveling alone?” Honestly, I had the same question when I began traveling solo (which was way before phones had the fantastic camera features they have now!) Luckily, there are many options for solo travelers to capture their special moments during their trips, and I have compiled the list below of my favorite travel photography tips and tricks for you.
Hire a professional
Hiring a professional photographer may not be an option for everyone, but they are worth the investment if you can!
- When searching for a local photographer, some tips are:
- Search the location on social media, find a photographer whose photos you like, and reach out to them.
- Use websites like shootmytravel.com , Flytographer.com, or Airbnb Experiences to find local photographers.
Ask for Help
Have a photo taken of you the old-fashioned way by asking a stranger to take the picture for you. I tend to look for people who are either holding a nice camera, taking photos, or trying to take selfies and then I will offer to take the photo for them and ask them to take a picture of me in return.
Advanced Selfie
The advanced selfie is a term created by the digital creator Sorelle Amore and is the art of taking a self-portrait. The trick to mastering the advanced selfie is to practice. You can begin by simply using your phone or camera and putting it on a self-timer. You can also use tools such as tripods, remote shutter clickers (or an iWatch for iPhone users.) I will go into detail about more camera accessories below.
On-site Professional Photographer
If you are going on a cruise or to an all-inclusive resort, most likely, they will have an on-site photographer available. I like to reach out to the location and speak directly with the photographer before I arrive to discuss locations, time, outfits, and prices. The good thing about this option is they most likely will charge per photo rather than by the hour.
iPhone Tips
Apologies in advance to Android users, but I am only familiar with iPhones. The iPhone technology has increased to the point where you no longer need a fancy camera if you want to capture some quick shots during your trip. Some photography tips for the iPhone are:
- Shoot in Live Mode. This feature lets you change the keyframe of your photo in case you blink or not smiling for a split second.
- Use Portrait Mode to achieve professional-looking photos.
- When using Portrait Mode, you can edit the background blur on your photos by :
- Opening your photo in your camera roll of one taken with portrait mode
- Click “edit” on the top right.
- Click the “f” on the top left.
- Adjust the slider on the bottom
- Use the self-timer to take group or self portraits.
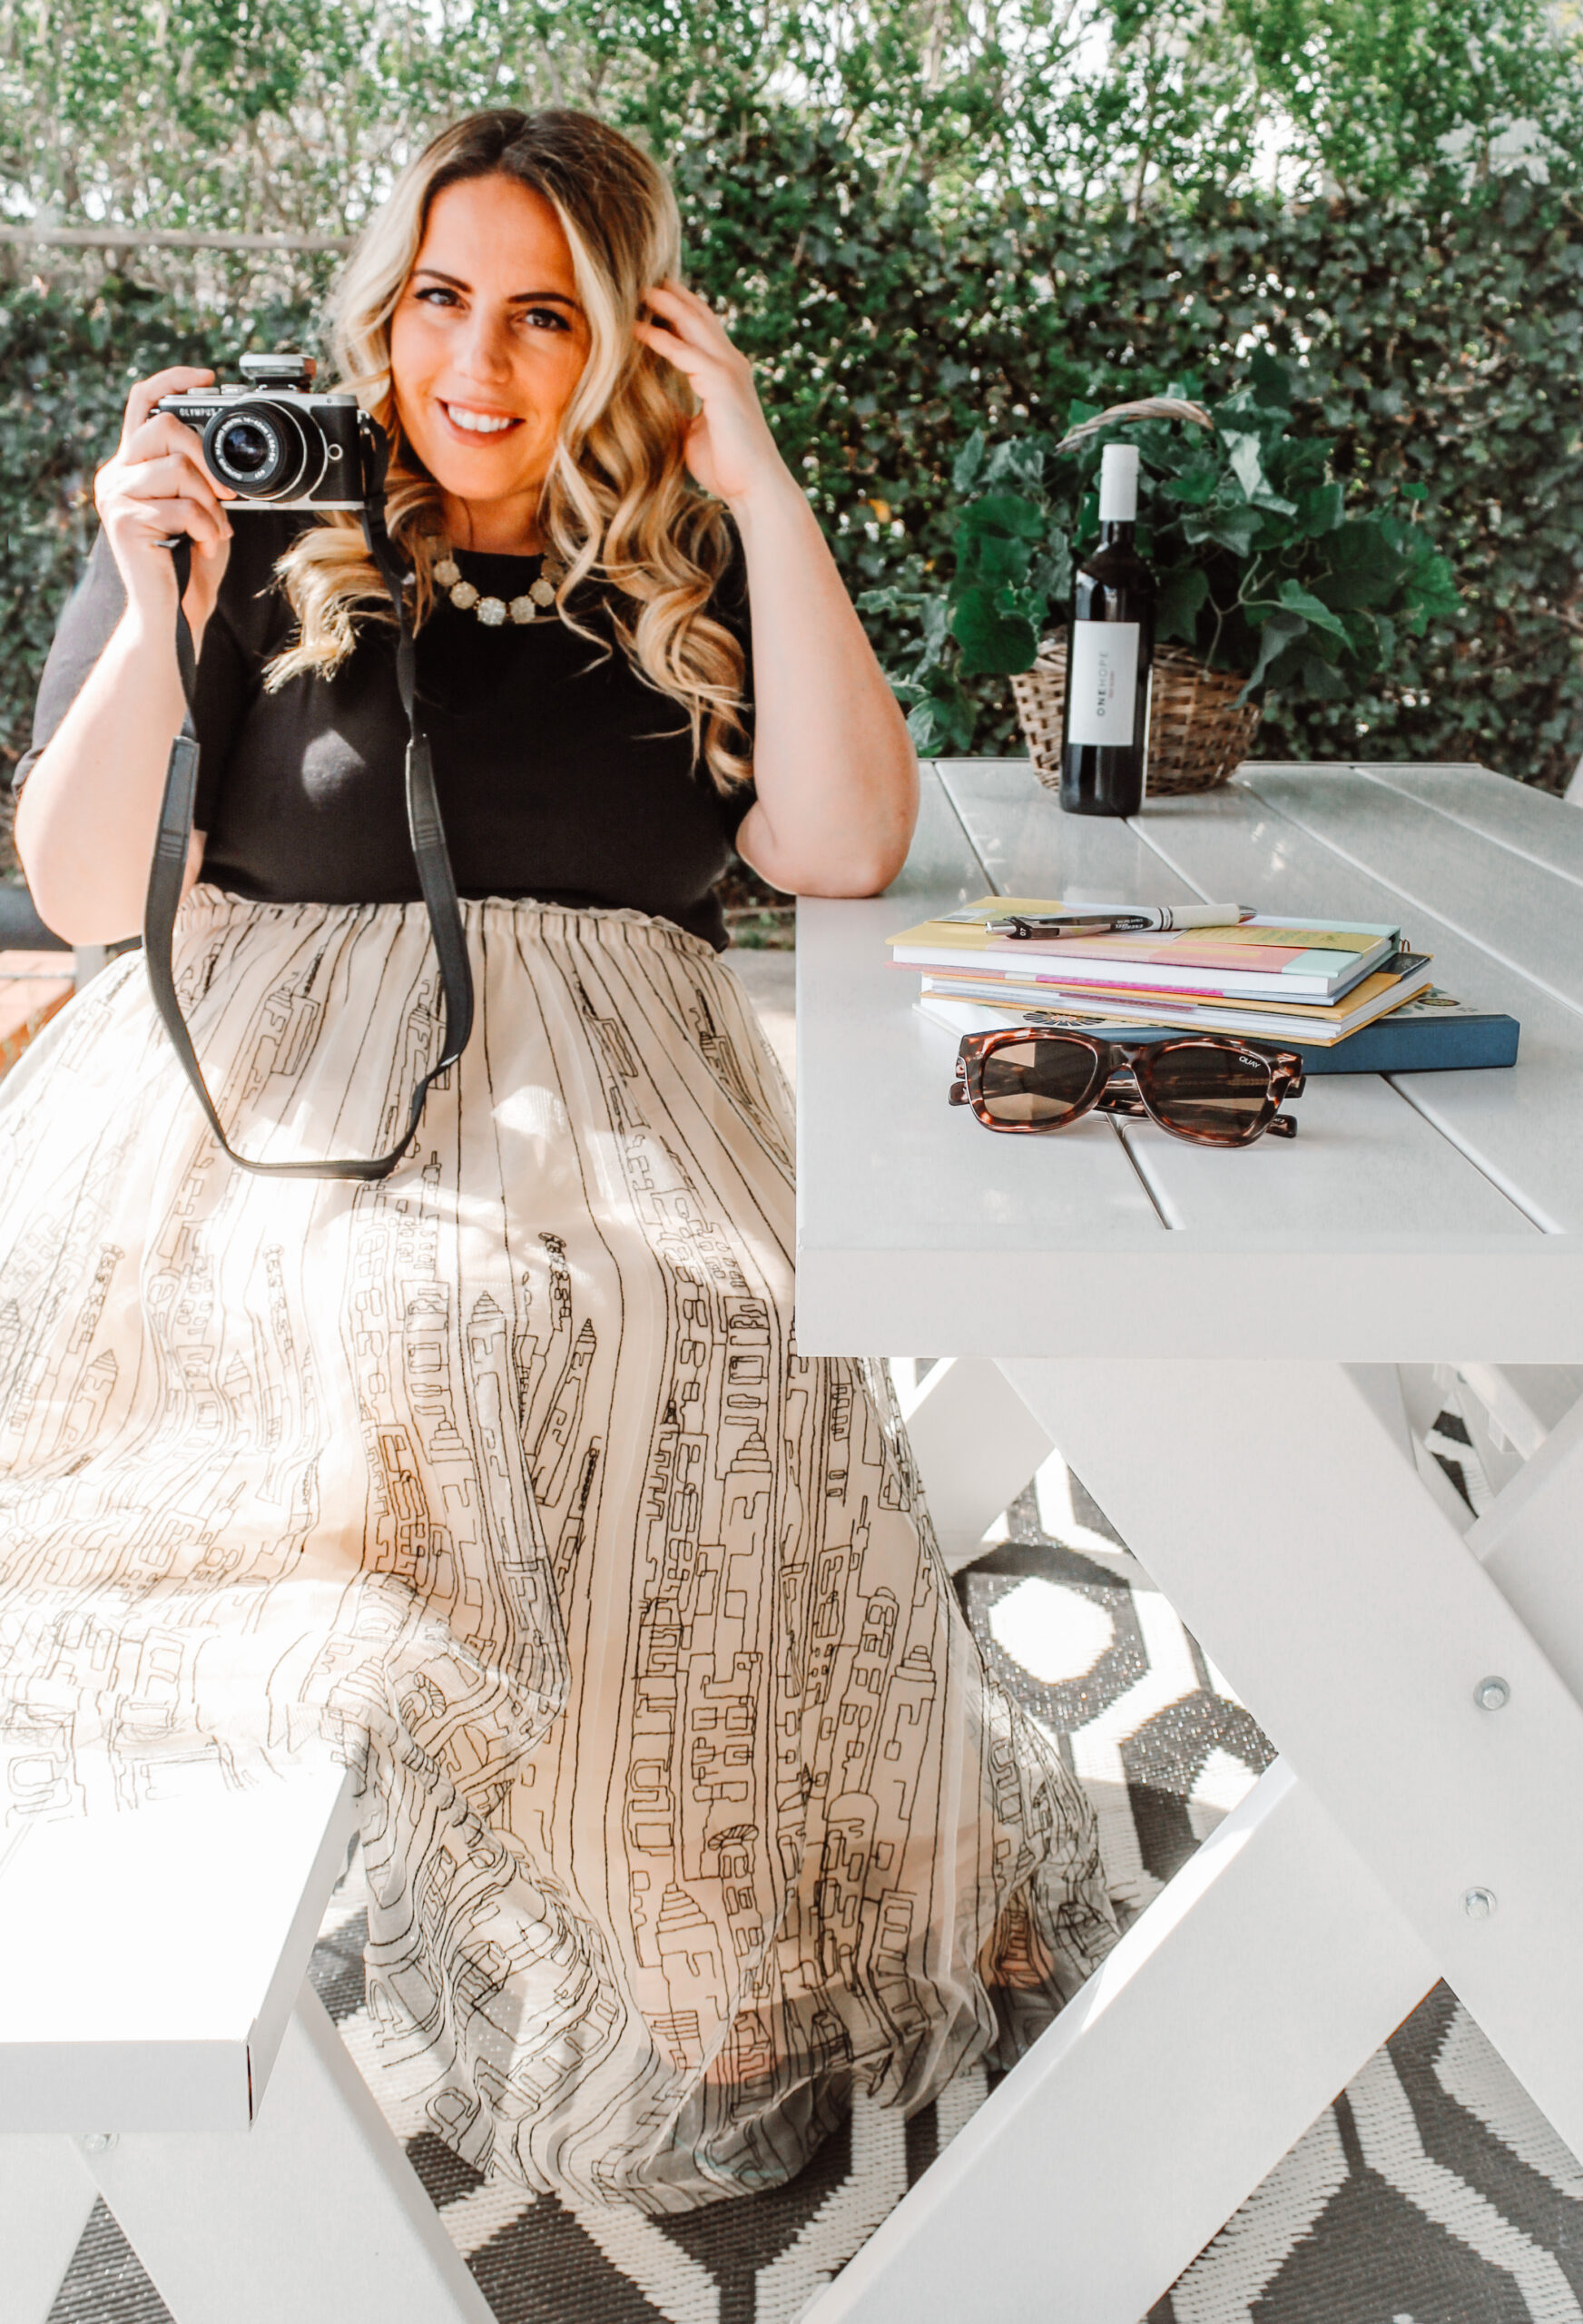
Pose Ideas
Posing can be awkward at first, but once you get the hang of it, it can be a lot of fun learning your angles and poses you enjoy. Some tips to keep in mind are:
- Create angles with your body.
- Practice in the mirror to learn which poses look best for you.
- Make yourself big by creating distance from your body with your arms or legs.
- Smile for real… seriously, have fun, and try to enjoy the moment genuinely. The photos where I have a massive smile on my face are always my favorite.
- Don’t know what to do with your hands? Try:
- Holding a prop like a purse, drink, hat, or whatever you’d like
- Put one hand on your hips and the other straight down.
- Blissfully throw your hands in the air.
- Use your pockets
- Gently touch your face or hair.
- Create movement by swinging your dress or skirt in the air (my favorite move!)
Time of Day
The time of day is critical for photography in general, but especially for solo photography. For any photoshoot, you want to try to maximize Golden Hour. Golden hour is the time of day when the sun is rising, and the sun is setting and creates the most flattering light for photos. Another benefit of taking pictures at sunrise is the reduced number of people early in the morning. I feel more comfortable pulling out my tripod and taking photos of myself when there aren’t crowds of people nearby. Check your weather app to see the hours for sunrise and sundown so you can plan your photo sessions accordingly.
Research Locations
Instead of figuring out where to take photos when you arrive at your destination, do research online of where you would like your photos to take place. Search the location or popular hashtags for your destination and see where other people took their photos. I recommend making a folder in your phone for each destination so you can plan how you want to shoot your photo once you arrive.
Outfit Planning
Along with planning where you want to take your photos, it is also a good idea to plan what outfit you want to wear at each location. Once again, pay attention to other people’s pictures and outfits to inspire your photoshoot. I like to wear complementary or opposite colors of the area I am photographing. Remember, you get to be whoever you want to be, so if you’re going to wear a ball gown in the middle of Times Square, go for it!
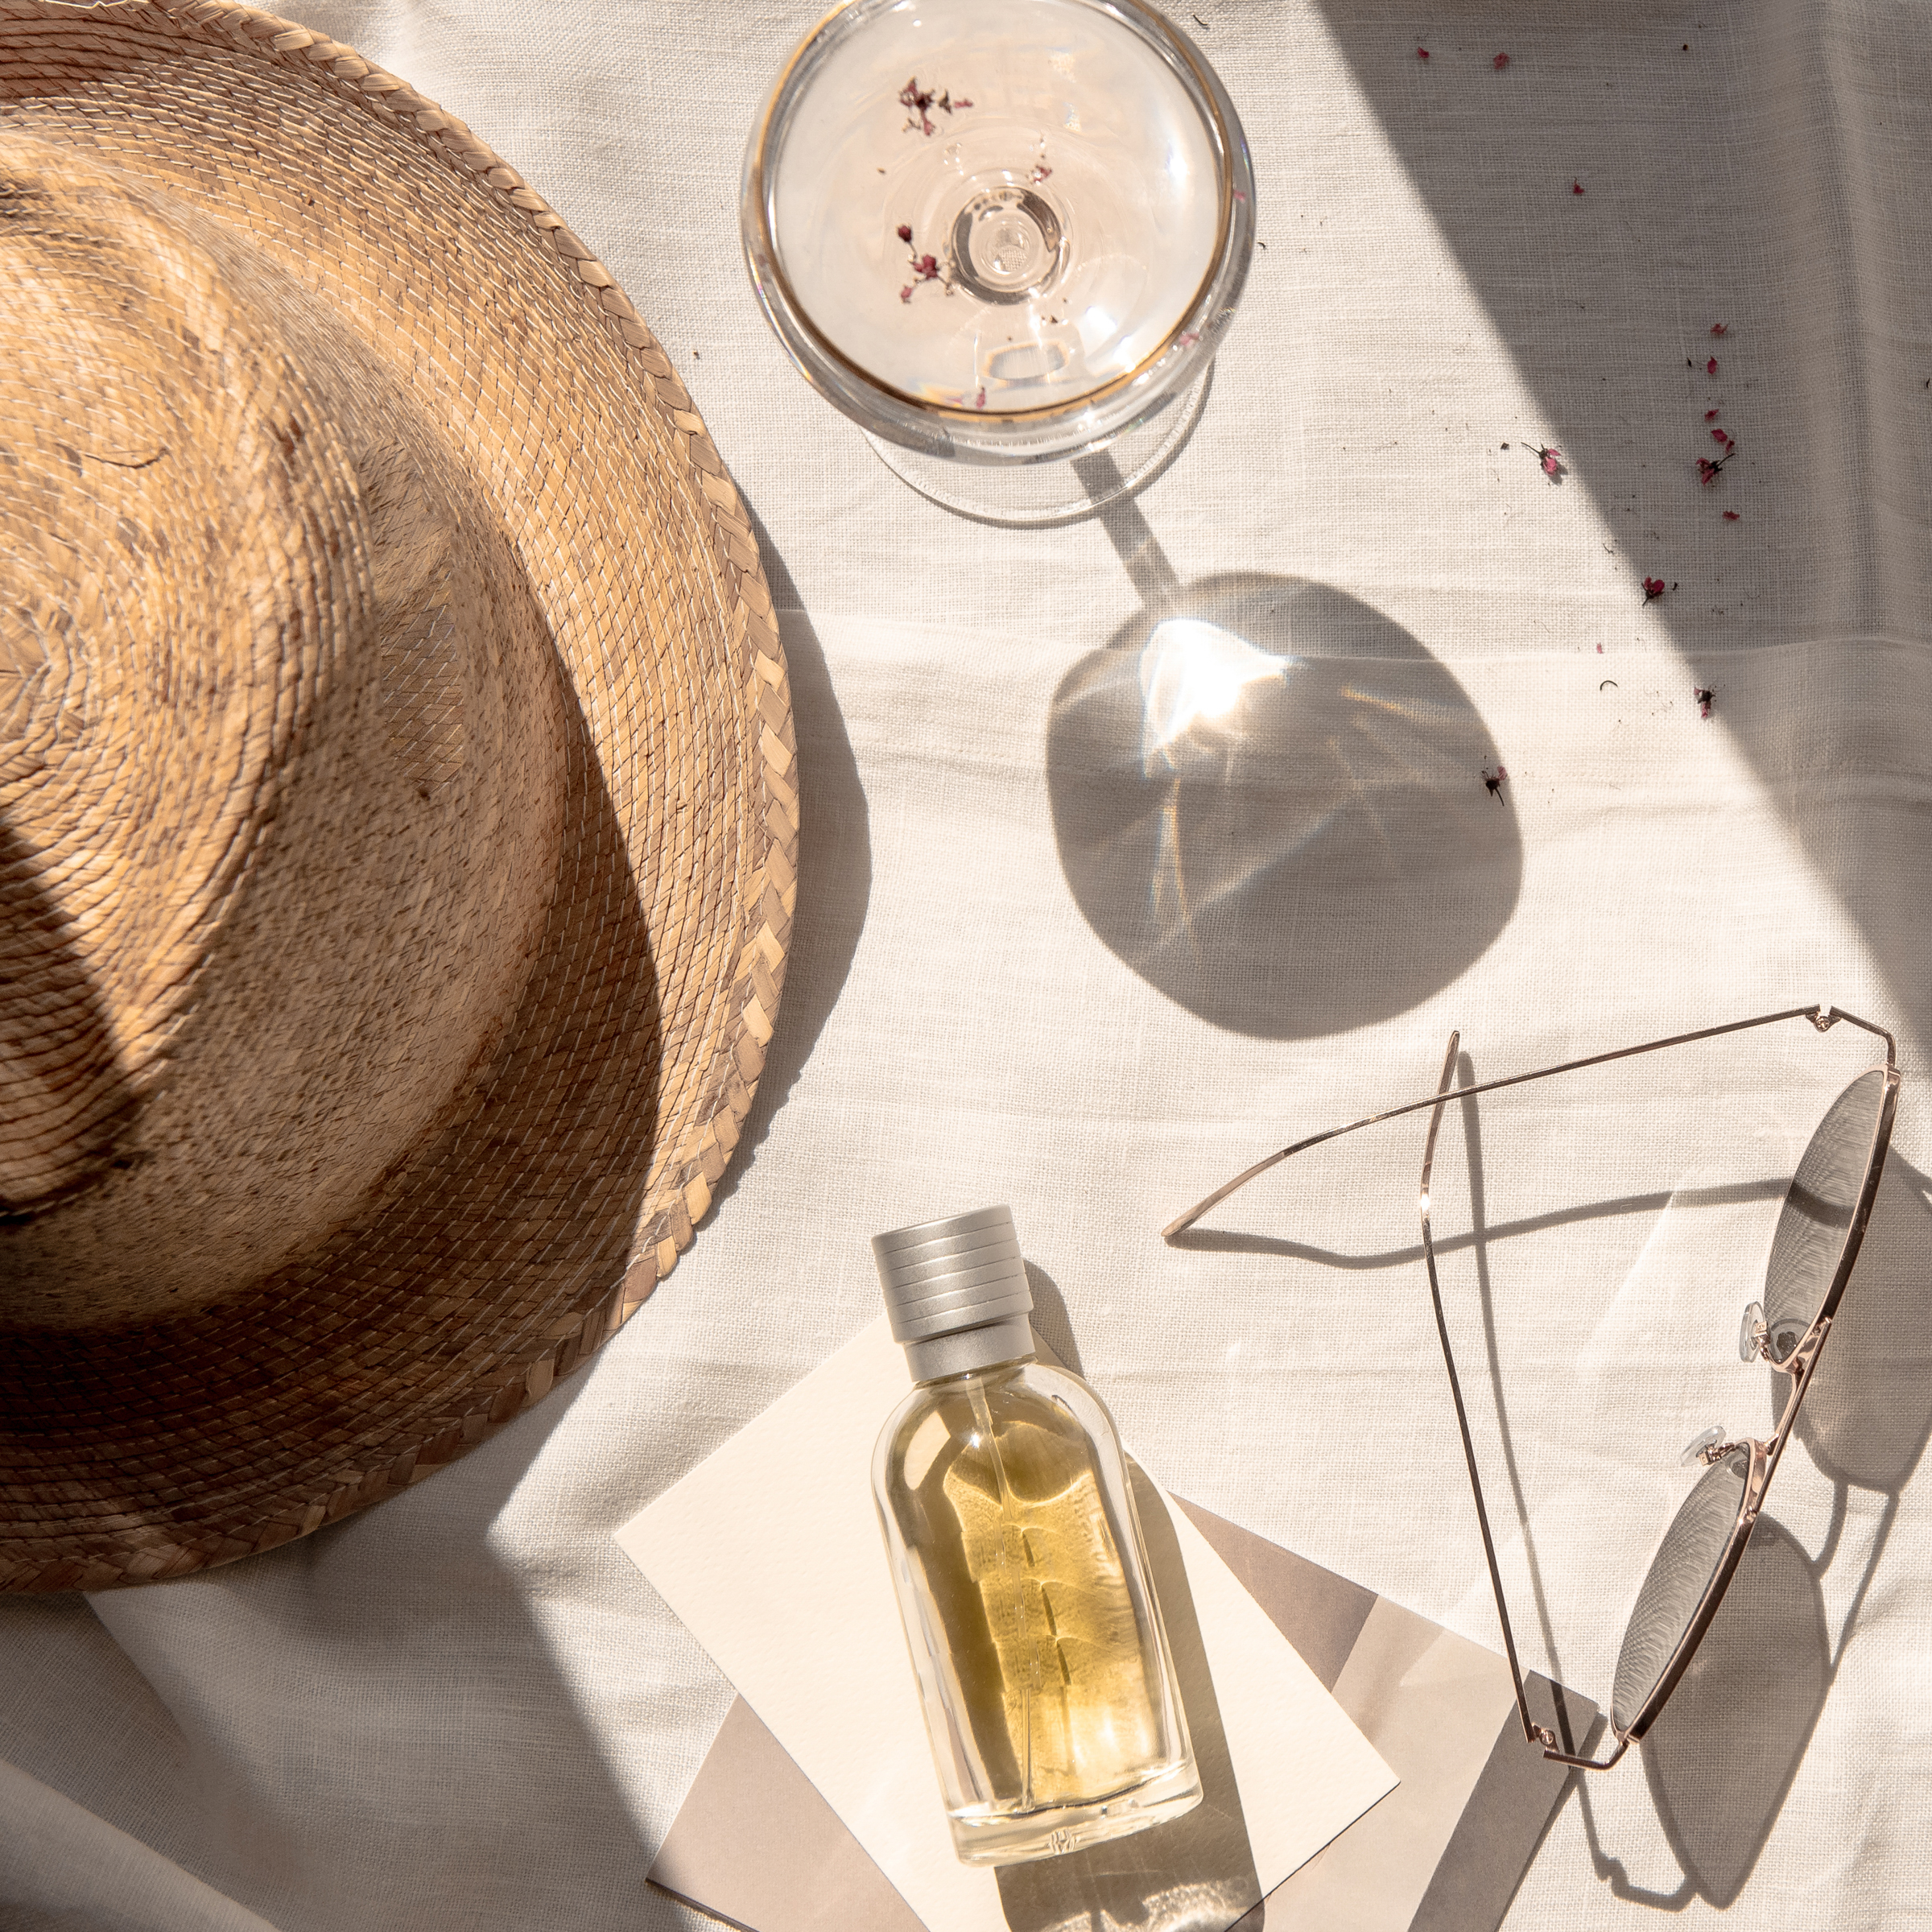
Accessories
Accessories are my favorite topic because I love gadgets and gizmos, and there are so many fun options!
(please note: the below items contain Amazon affiliate links, which generate a small commission when used to purchase items referenced)
- Cameras
- Video: DJI Osmo Pocket Gimbal
- 360 Degree Camera: Insta360 One X2
- Smaller Digital Camera: Olympus Pen EPL-9
- SLR Camera: Canon Rebel T7
- Action Camera: GoPro Hero 9
- Drone
- Video: DJI Osmo Pocket Gimbal
- Accessories
I hope you enjoyed these tips, and you are ready to go out and start taking photos of yourself! If you do take some self-portraits based on these tips, please tag #onegirltravelpics so I can see them!
Check out more photography posts here:
“Why don’t you take a picture, it will last longer” – One Girl Travel